VS Code Dev Containers and GitHub Actions Using one Dockerfile
An example for how to share a single Dockerfile defined in a repository for both local development using VS Code dev containers and CI/CD with GitHub Actions.
Note: The source code for the sample project mentioned in this article can be found here. If you'd like to configure a similar setup using Azure Pipelines instead of GitHub Actions see this post.
VS Code Devcontainers
Dev containers provide a way to develop locally inside of a container whose definition is specified within the source code for your project, including any required dev dependencies and configurations. This is a great way to create a shared, reproducible development environment, helping to accelerate onboarding and ensure consistent results. From the docs:
The Visual Studio Code Remote - Containers extension lets you use a Docker container as a full-featured development environment. It allows you to open any folder inside (or mounted into) a container and take advantage of Visual Studio Code's full feature set. A devcontainer.json file in your project tells VS Code how to access (or create) a development container with a well-defined tool and runtime stack. This container can be used to run an application or to sandbox tools, libraries, or runtimes needed for working with a codebase. (more)
GitHub Docker Container Actions
GitHub Actions allow you to create automation workflows in your GitHub repository. One option available for building GitHub Actions is by using Docker container actions, which run scripts defined as an ENTRYPOINT to the container. These provide a fantastic way to provide a consistent build environment that includes any needed dependencies and configurations for CI/CD or other types of automation.
Unifying Dev and Build Containers
Using containers for developing and builds solve a lot of problems separately, but this still leaves teams open to the "it works on my machine" problem if different container definitions are used locally vs. for your builds. However, through some simple configuration it is possible to use the same container definition for building with GitHub Actions as you do for development with dev containers. This POC project attempts to demonstrate one way of doing so.
Example project structure
/container-dev-action-sample
├── .github             // Contains GitHub Action and Workflow definitions
  ├── workflows
    └── main.yml        // Defines the trigger, inputs, & specifies Action to run for your project
  └── action.yml        // Defines any available Action inputs and points to the Dockerfile
├── docker
  ├── Dockerfile        // Shared Docker configuration
  └── entrypoint.sh     // Script to be run inside the container in GitHub Action context
├── .devcontainer.json  // Configuration for the dev container that points to the Dockerfile
├── .gitignore
├── package.json        // Includes sample scripts that can be run locally and via Action
├── package-lock.json
├── README.md
└── src                 // Contains sample content for testing
  ├── index.html
  └── index.json
Using Local Dev Containers
Follow the Getting Started Guide install the prerequisites on your development machine. You can do this on macOS, Windows, or Linux.
To open this repo in a container:
- Select
Remote-Containers: Open Repository in Containerfrom the VS Code Command Palette (F1) - When prompted for the repository to open enter
https://github.com/bradyjoslin/container-dev-action-sample - Select the first option to create a unique volume
- VS Code should reload the window and start building the dev container
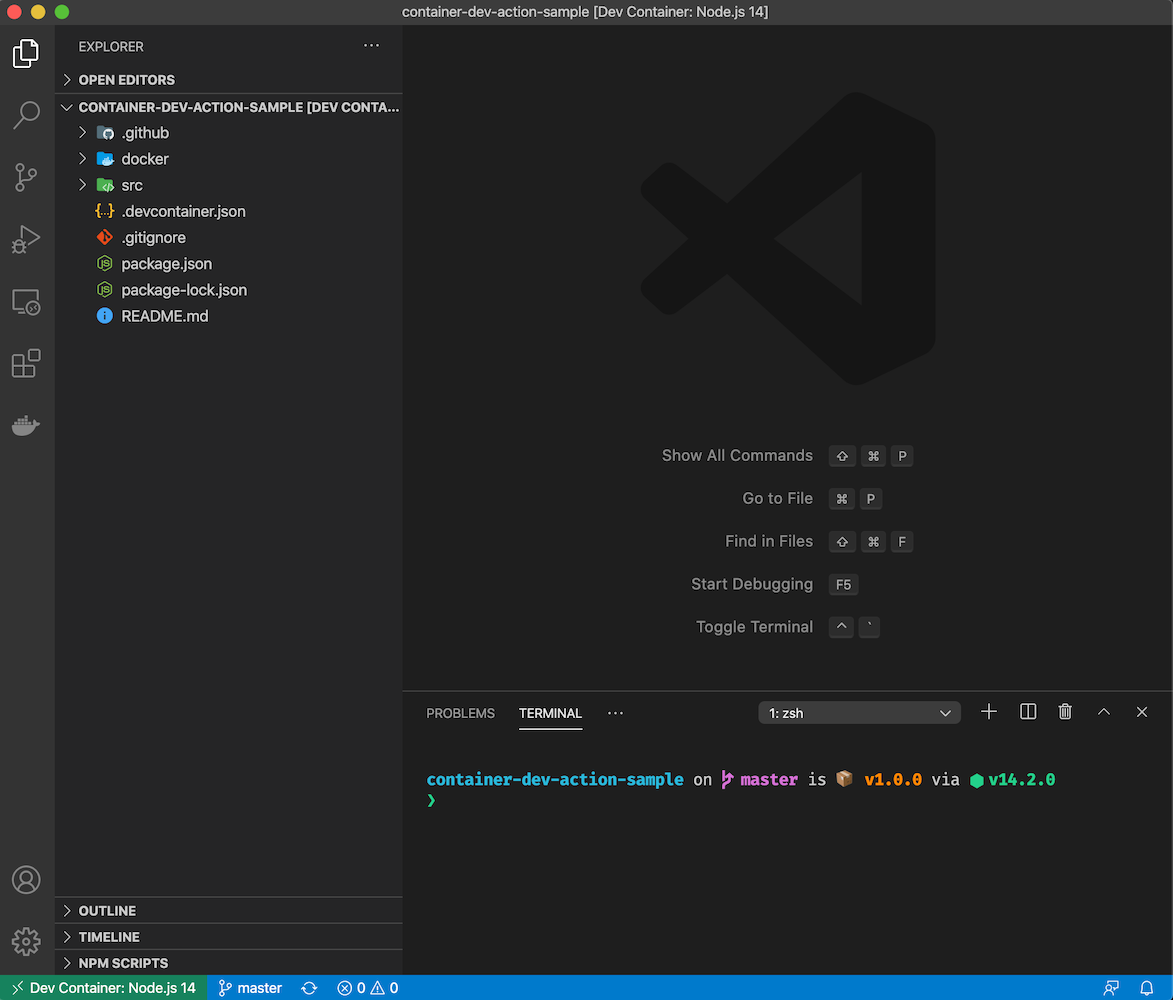
Once completed, you should see the source code for this project. Open a terminal window in VS Code (Terminal -> New Terminal) to see a zsh command prompt running in the container using starship.rs, which was included as a dependency in the Dockerfile.
Now run:
npm run hello:cat --silent
This script runs cat ./src/index.html, so it should display Hello World! in your terminal.
Now try:
npm run hello:rg --silent
This npm script runs rg -i world! --iglob \*.html | awk 'NR==1' | cut -d ':' -f 2 and should also display Hello World! in your terminal - ripgrep, a command line search tool, was also included by your container configuration.
Using GitHub Action
The GitHub Action workflow definition is set to run on pushes to any branch. The first defined step checks out our code into an automation step whose uses property points to the location of .github/action.yml which is the location for our Action configuration file.
# .github/workflows/main.yml
on: [push, pull_request]

jobs:
  test:
    runs-on: ubuntu-latest
    name: CI/CD Automation
    steps:
      - uses: actions/checkout@v2
      - name: Automation step 1
        uses: ./.github/
Note that ripgrep is not installed by the ubuntu-latest GitHub runner we are using in this workflow, so in order for our example script to work we need it to run in our defined container.
action.yml then points to the location of our Dockerfile
# .github/action.yml
name: "Hello action"
description: "Sharing actions with devcontainers"
runs:
  using: "docker"
  image: "../docker/Dockerfile"
Our Dockerfile has a configured ENTRYPOINT ["/entrypoint.sh"] which executes when the container is created, which is a bash script that executes the two npm commands we ran locally earlier. There is an additional check to see if the environment variable GITHUB_ACTIONS is set, which would only exist in the context of running as a GitHub Action, not locally.
#!/bin/bash

set -e

# Check if running in GitHub vs locally
if [ -n "$GITHUB_ACTIONS" ]
then
  echo "** Running github action script **"
  npm run hello:rg --silent
  npm run hello:cat --silent
  echo "** **"
fi
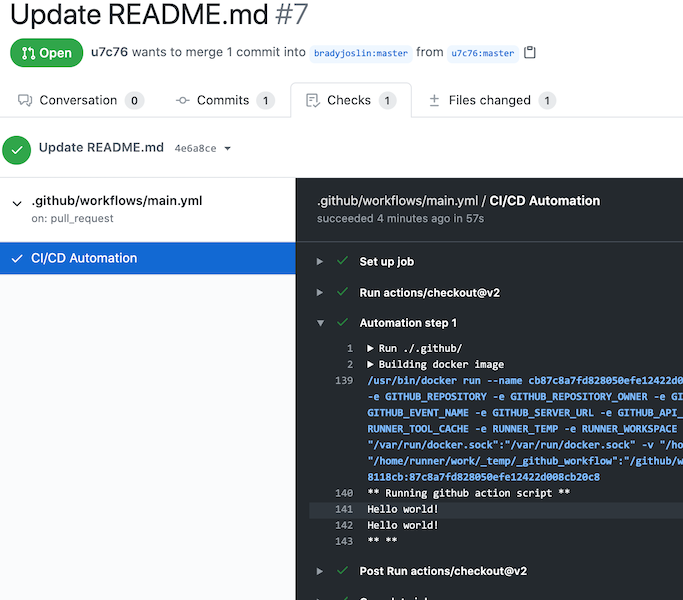
To see the Action run, simply fork and provide a PR to this repo with an innocuous change to this README.md file. When the action is finished running you should see...
** Running github action script **
Hello world!
Hello world!
** **
...under a new run of the Action under CI/CD Automation in Automation step 1.
🎉